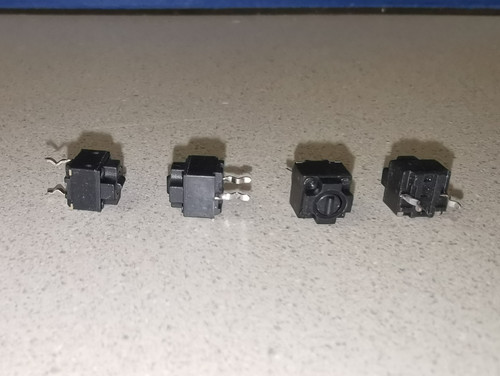
C-Pad PCB and button / insert bracket shape designed by Rana Labs. PCB pre-assembled by JLCPCB with the switches, resistors and ADC already soldered.
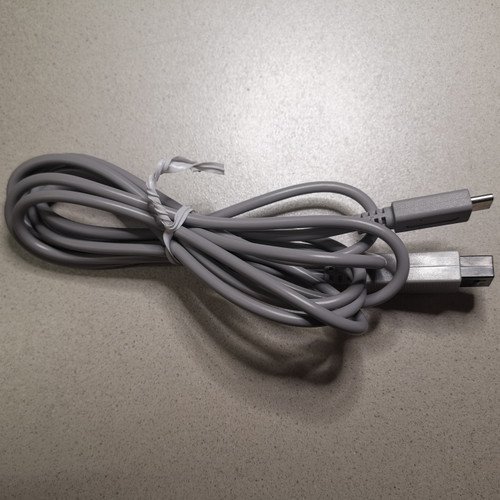
Ribbon cable not included (available in separate listings: 6-pin / 4-pin).
Produced in lead-free HASL quality, compliant with RoHS.
C-Pad buttons and bracket also available through the selection menu. For an entire set, you'll need:
• 1x C-Pad PCB
• 1x insert bracket
• 4x C-Pad buttons (any version, can be mixed and matched)
• optional: C-Pad bracket screw (2.0mm tripoint) to fix PCB and insert bracket together
• optional: C-Pad button extensions (only compatible with my modified extensible button version)
• optional, but required if using the button extensions: M1.7 screw for each of the extended buttons
I usually don't install the bracket screws, as they make controller disassembly slower. The screws however match the trigger screw threading perfectly and are of higher quality than the stock black PH1 screws, so they are a good purchase for that purpose.
My default recommendation is going for nylon extensions for left and right and resin extensions for up and down, so that the more coarse feeling of the nylon material helps distinguishing between the directions.
For C-Pad up, some people will prefer not having an extension installed, as the extension reaches quite close to the B button and might cause accidental inputs.
The extensions can only be installed after the rest of the C-Pad parts have already been installed to the front shell. It's usually best to only install them with the controller otherwise fully assembled. Compatible PH1 screwdriver can be bought here.
The 6-pin version is for PhobGCC 2.0, the 4-pin version for OEM / PhobGCC 1.X.